Windows 2012 Datacenter Virtual Machine Installation

Imagine having a brand new mondo sized Dell PowerEdge R720 thrown in your lap. Then couple this with Windows 2012 Datacenter, which is essentially a VMWare killer (no way, really?). You spend enough time at the Microsoft Virtual Academy to familiarize yourself with the peculiarities of this Datacenter edition, and really, there aren’t enough hours in a day for this! So, it will stretch for months. But it will happen! The following can apply to Server 2012 Standard edition, but that edition maxes out at 2 virtual machines. This will likely not be enough for most people, but if so, great. Otherwise pay extra for Datacenter edition.

After learning how to configure the basics of Datacenter, like virtual switching and networking, adding Hyper-V etc, then comes the fun part: adding a virtual machine itself to the Server. After opening the Hyper-V Manager, you can easily go to New /  Virtual Machine. Be sure disk space is straightened out beforehand, because the default is straight off the C: Drive. If you RAID the actual Terrabyte storage drives, then that’s where you need to place all the virtual machines and drives. You can change the defaults for these by going to the Hyper-V Settings of the Server: opposite click the Server (not a virtual machine). Then, under Server, edit the Virtual Hard Disks and Virtual Machines location. Although this can be done manually each time a virtual machine is set up, this defaults to the larger drive location. If you do it manually but forget once, you run the risk of filling traditionally smaller C: Drives (the default location).

Once you are all set there, the install is a breeze, assuming the ISO install file is healthy. The installation is the same as that of Windows Server 2008 R2, with one major exception: it takes only a fraction of the time (5-10 minutes)! This is the nature of Microsoft virtual machine installation.

Note: the virtual machine restarts in about 15 seconds after the installation, BUT you’ll still see the “Press any key to boot off DVD” (or similar). DON’T DO IT. This starts the install all over again. The message goes away in a few seconds, and your new machine pops up.

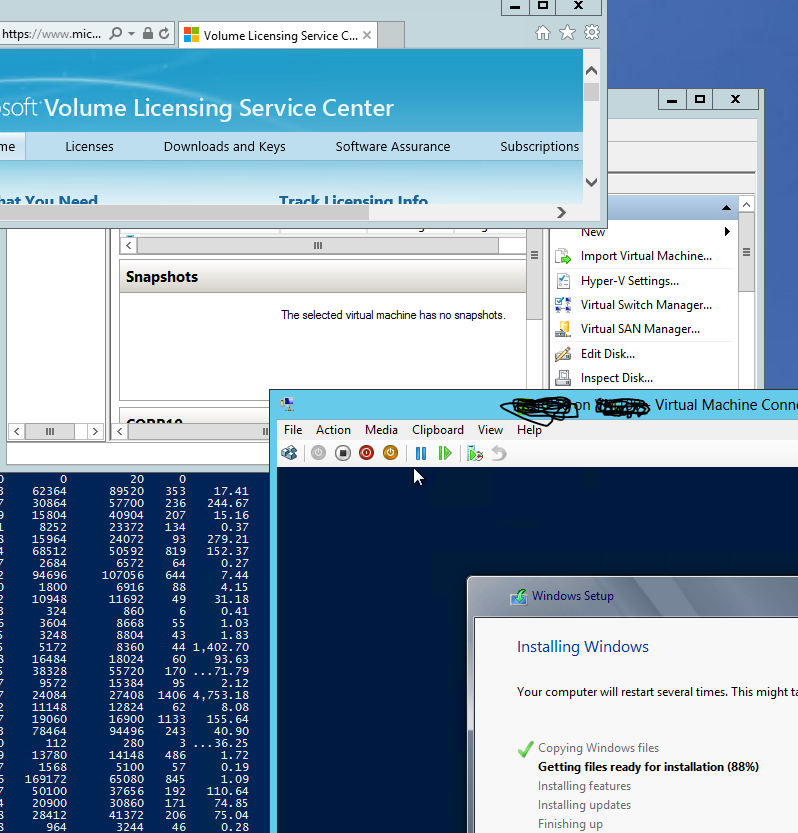
Here’s my messy screen during an install.

Charge The Windows Nokia Phone Wirelessly

Charging a Windows (or any) phone wirelessly? Through a so called wireless “pillow”? What? You mean, no cable to the phone of any sort is involved? To be able to charge a smart phone wirelessly is so cool! Now, it looks like it is possible to do so for under $35. Very nice.

“We’ve seen the Nokia wireless charging pad go for as little as $25 recently but so far, its fluffier cousin, the “Fatboy” has not had such a deal. Yesterday we reported an offer for $45 but today we can beat that. Truth be told, the Fatboy pillow is the very same wireless charging pad but with a wraparound bed for your precious Lumia.

That wireless downy combo used to cost upwards of $100 but now you can pick up both for $35 using the Daily Steals website. Even if you don’t like the bed, you can pull away the Velcro and slide out the wireless charging pad to use it naked.”

http://www.wpcentral.com/deal-alert-nokia-fatboy-dt-901-wireless-charging-pillow

AT+T U-verse Recommendation

I just updated certain challenges with U-Verse installation a few blog entries below. There were a few minor details – long wait time initially to schedule the install, and a few days without current service in order to set an official order. But now that I have it all set up, I love it. The 6 Mbps internet is very good. It is ample for what my family does online. We are not gamers and do not watch endless movies etc. Not judging, just saying ;>

I recommend bundled Uverse. Maybe you can get a good deal (push them for a 2 year low bundle):

 http://www.att.com/shop/u-verse.html#fbid=eNIbTGsdPmV

Data Deduplication in Windows Server 2012

Data Deduplication seems to be one of the more interesting benefits of moving towards or upgrading to Windows Server 2012. Here is a nice Tech net summary.

“I think that this new deduplication feature in Windows Server 2012 will be very popular. It is the kind of technology that people need and I can’t wait to see it in production deployments. I would love to see your reports at the bottom of this blog of how much hard disk space and money you saved. Just copy the output of this PowerShell command: PS> Get-DedupVolume

  • 30-90%+ savings can be achieved with deduplication on most types of data. I have a 200GB drive that I keep throwing data at and now it has 1.7TB of data on it. It is easy to forget that it is a 200GB drive.
  • Deduplication is easy to install and the default settings won’t let you shoot yourself in the foot.
  • Deduplication works hard to detect, report and repair disk corruptions.
  • You can experience faster file download times and reduced bandwidth consumption over a WAN through integration with BranchCache.”

Detailed Article from Tech Net