
– Continued from Previous, Part 2 –
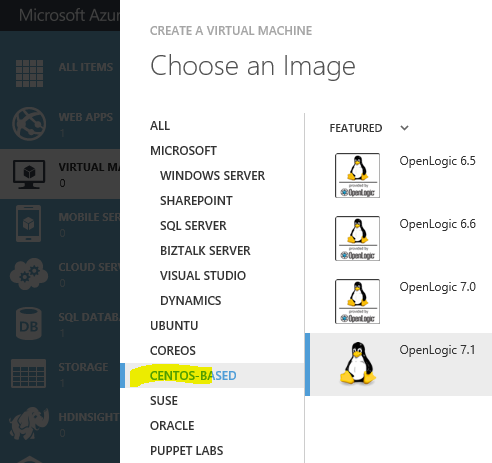
Add Azure based Linux Virtual Machine:
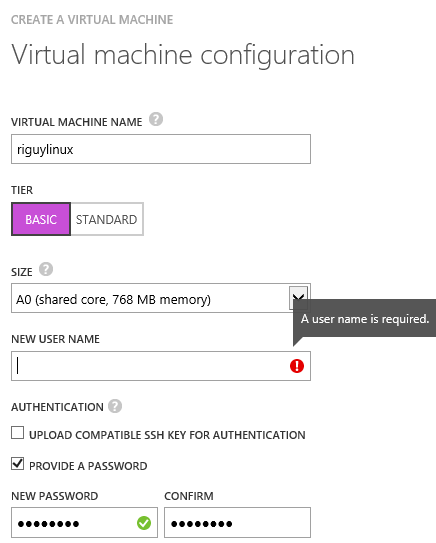
Enter a name of a new User. I keep the resources basic, as I am paying for this personally, and thus it is not a money-making proposition, [although I do have Google ads, which earn me a few dollars here and there]. Bare bones processing and RAM are sufficient. If this was a business, then of course these resources would be higher, as needed:
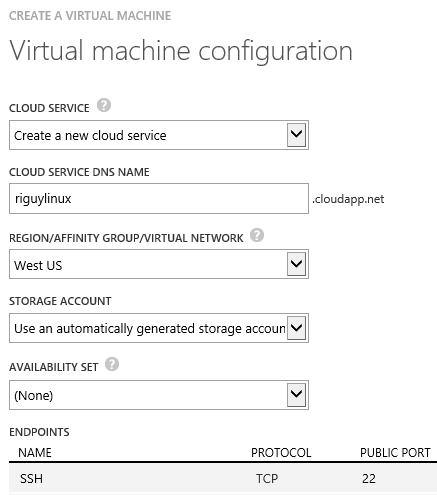
Enter needed info, be sure to open SSH Port 22:
Sure, install the VM Agent:

So far, so good – we have provisioning:

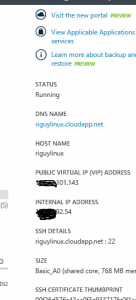
Done! A server has now been ‘Spec’d ‘, procured, purchased, and ‘plugged in’ within minutes:

Now it’s time to actually connect to this Cloud-based Server.
I decided to use the awesome BitVise client from my laptop to connect to the Linux server:
First …. From Azure Dashboard for the virtual machine, get SSH info:
Set up the BitVise accordingly, using the above Public host information as the address:

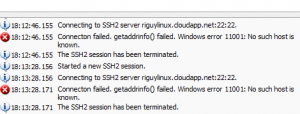
At first it fails. What gives?