

And now for a more in depth look into setting up and configuring Exchange Server! To Begin:
Start up the CD as always and peruse the menu:
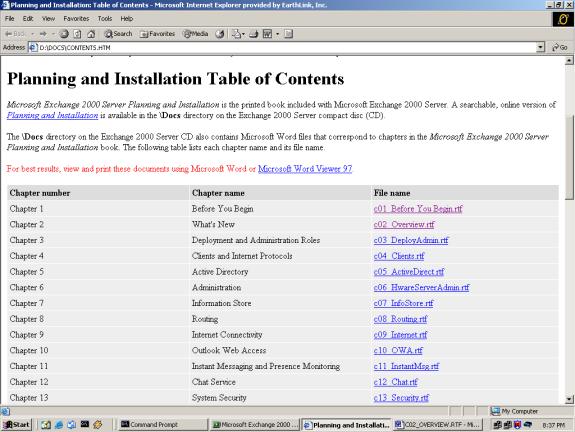
Read the Documentation (RTFM), especially the Planning and Installation part, it’s an excellent starting point:
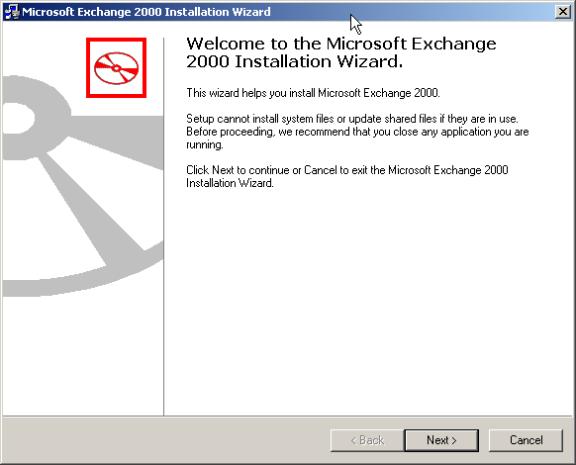
Open Setup:
Read the EULA from start to finish (uh-huh), then enter the Product ID. Maybe select, “I agree”:

Choose Components, based on the needs of your Exchange server environment. Normally, a Typical installation is fine. However, if Lotus Notes is involved in the messaging environment, for example, look into a connector:

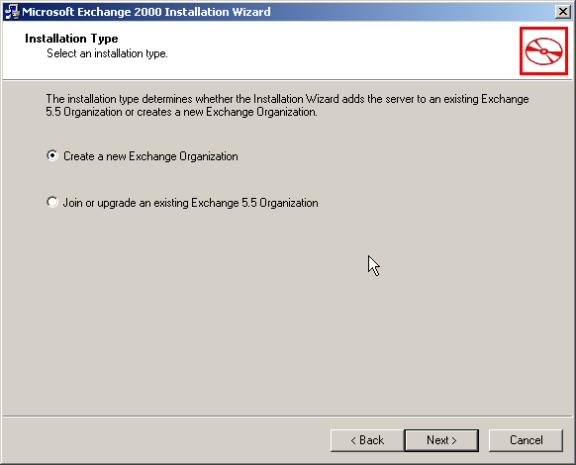
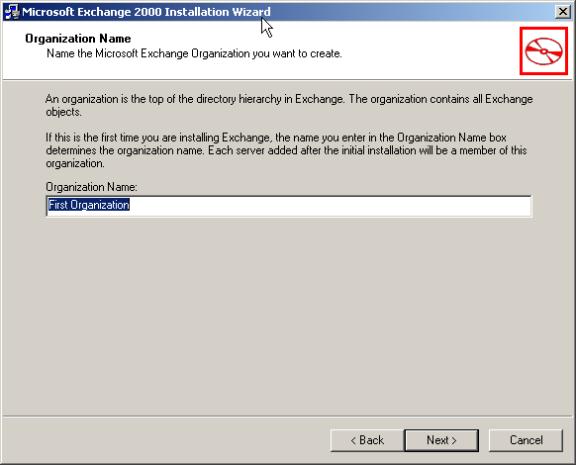
“Create a new Organization”, i.e. this is not an Exchange Server 5.5 upgrade:
Change the default, “First Organization” as/if needed, then agree (disagree?) to the “per seat” license agreement:
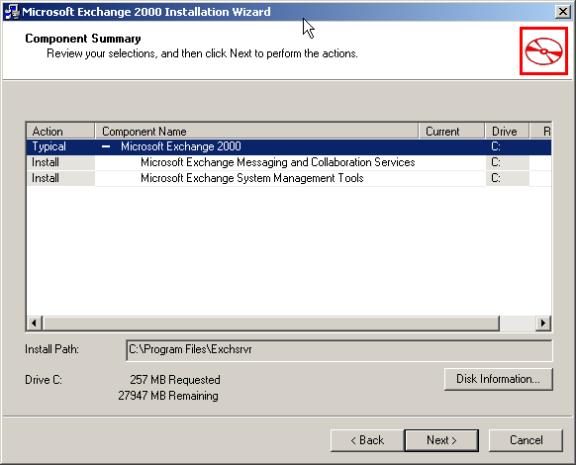
Review the components to be installed:
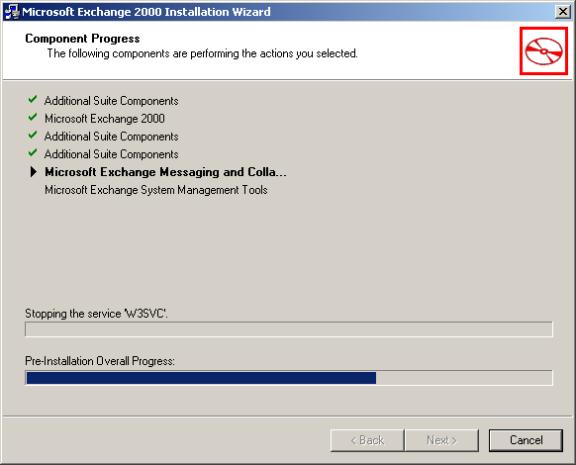
Install, in progress:
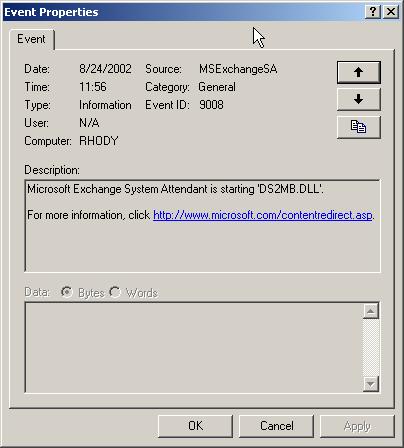
Note how the Event Viewer (Application log) fills up with Exchange-related items after install:
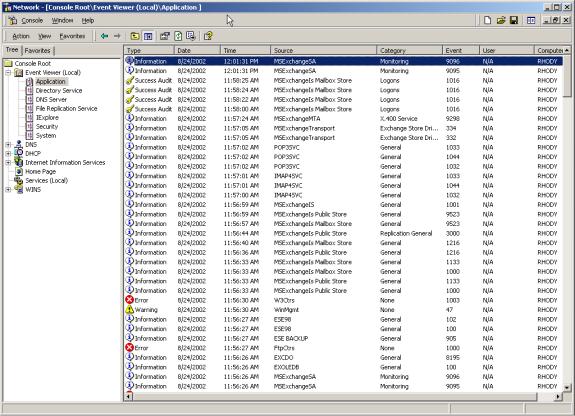
The crucial Exchange System Attendant starts up and loads numerous DLLs, etc. The System Attendant id the commander in an Exchange Server environment. An example:
Open the DNS MMC, dig down to the Forward Lookup Zone for the domain, and right-click it. Select New Mail Exchanger. I entered “mail” under Host or domain and then put “mail.riguy.com” for Mail server . An “A” record (host) for “mail.riguy.com” was created prior to this install. It points to the IP of the server. The name should be intuitive.
The Mail server priority was left at default, 10:

Next, enable or create a (new) user mailbox within Active Directory Users and Computers. Right-click the user within the Users sub-folder, and choose Exchange Tasks:
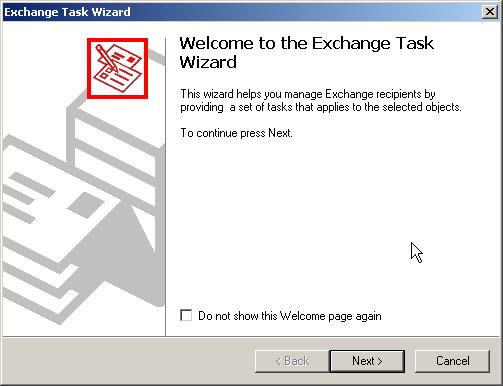
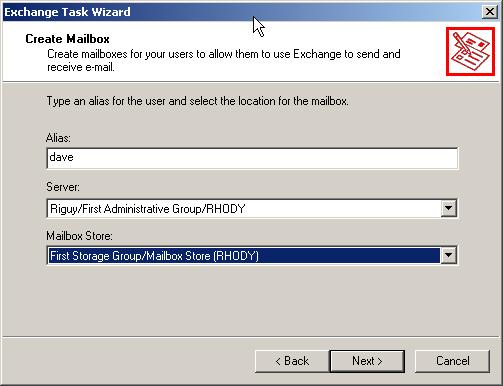
Select Create Mailbox:

I accepted the defaults, as there is only one Server and Exchange Storage group involved and then moved on to the Next step:
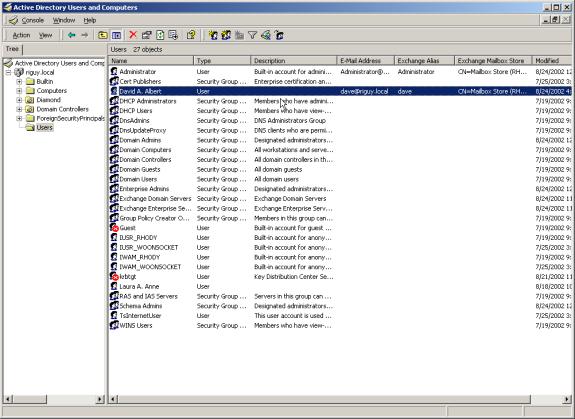
Click Finish. You see that it took 3 seconds. Not bad. Also note the LDAP information in the results. This is very important Active Directory (Microsoft LDAP) information:

Afterward, right-click the same domain container (riguy.local in this case, seen below, in the left frame) and refresh. The new information will appear, as there is now an email address associated with the user:
Also, you can Delegate Control to someone. For example this can be done to modify permissions of someone who wants to edit the Global Address List. Open Exchange the administrator program, via Start/Programs/Microsoft Exchange/System Manager. Right-click the upper container (organization name):
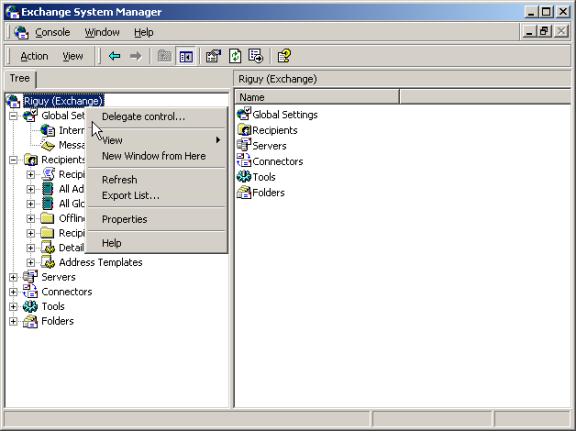
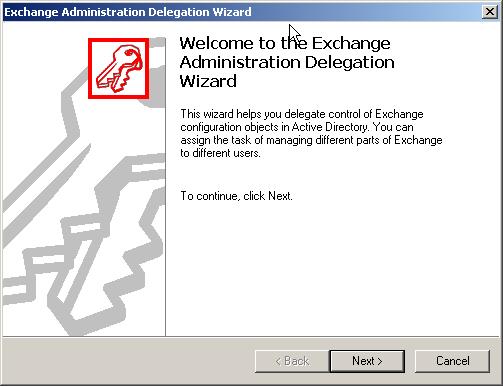
Choose Delegate Control, then proceed to add a user. There are 3 levels of control to choose from (i.e. Full Control is one choice):
Don’t forget any updated Service Packs for this or any Exchange Server!
[Service Pack 3 in this example]:
That’s it, for a very basic (i.e. no multiple Routing Groups and Connectors to deal with) Exchange Server Installation.
magnificent put up, very informative. I wonder why the other
specialists of this sector do not realize this. You should continue your writing.
I am confident, you’ve a huge readers’ base already!